Milling Planking Strips with a Byrnes Table Saw
How-To Guide · Hobbymill.EU
The Byrnes Model Machines table saw is the tool of choice for many serious ship modellers who want to mill their own planking strips. It is compact, quiet and capable of remarkably consistent results — but getting there takes a bit of setup and some practice. This guide walks through the technique developed over several years of milling strips at Hobbymill.EU.
A quick glossary
- Fence: the adjustable guide rail that runs parallel to the blade. The sheet slides along the fence to set the width of each strip.
- L-angle (L-bracket): a length of aluminium angle profile (available from any hardware shop), used as a fence extension and spacer — explained in detail below.
- Hold-down clamp: a device that presses the sheet against the fence from above to stop it lifting or vibrating during the cut. The Byrnes doesn't come with one as standard — improvised alternatives are described below.
- Micrometer: a precision measuring tool used to set and verify the exact thickness of each strip. Essential for consistent results.
- Teflon tape (PTFE tape): a thin, slippery white tape (the same type used on plumbing threads) that prevents the aluminium angle from leaving grey marks on the wood and helps the sheet slide more smoothly.
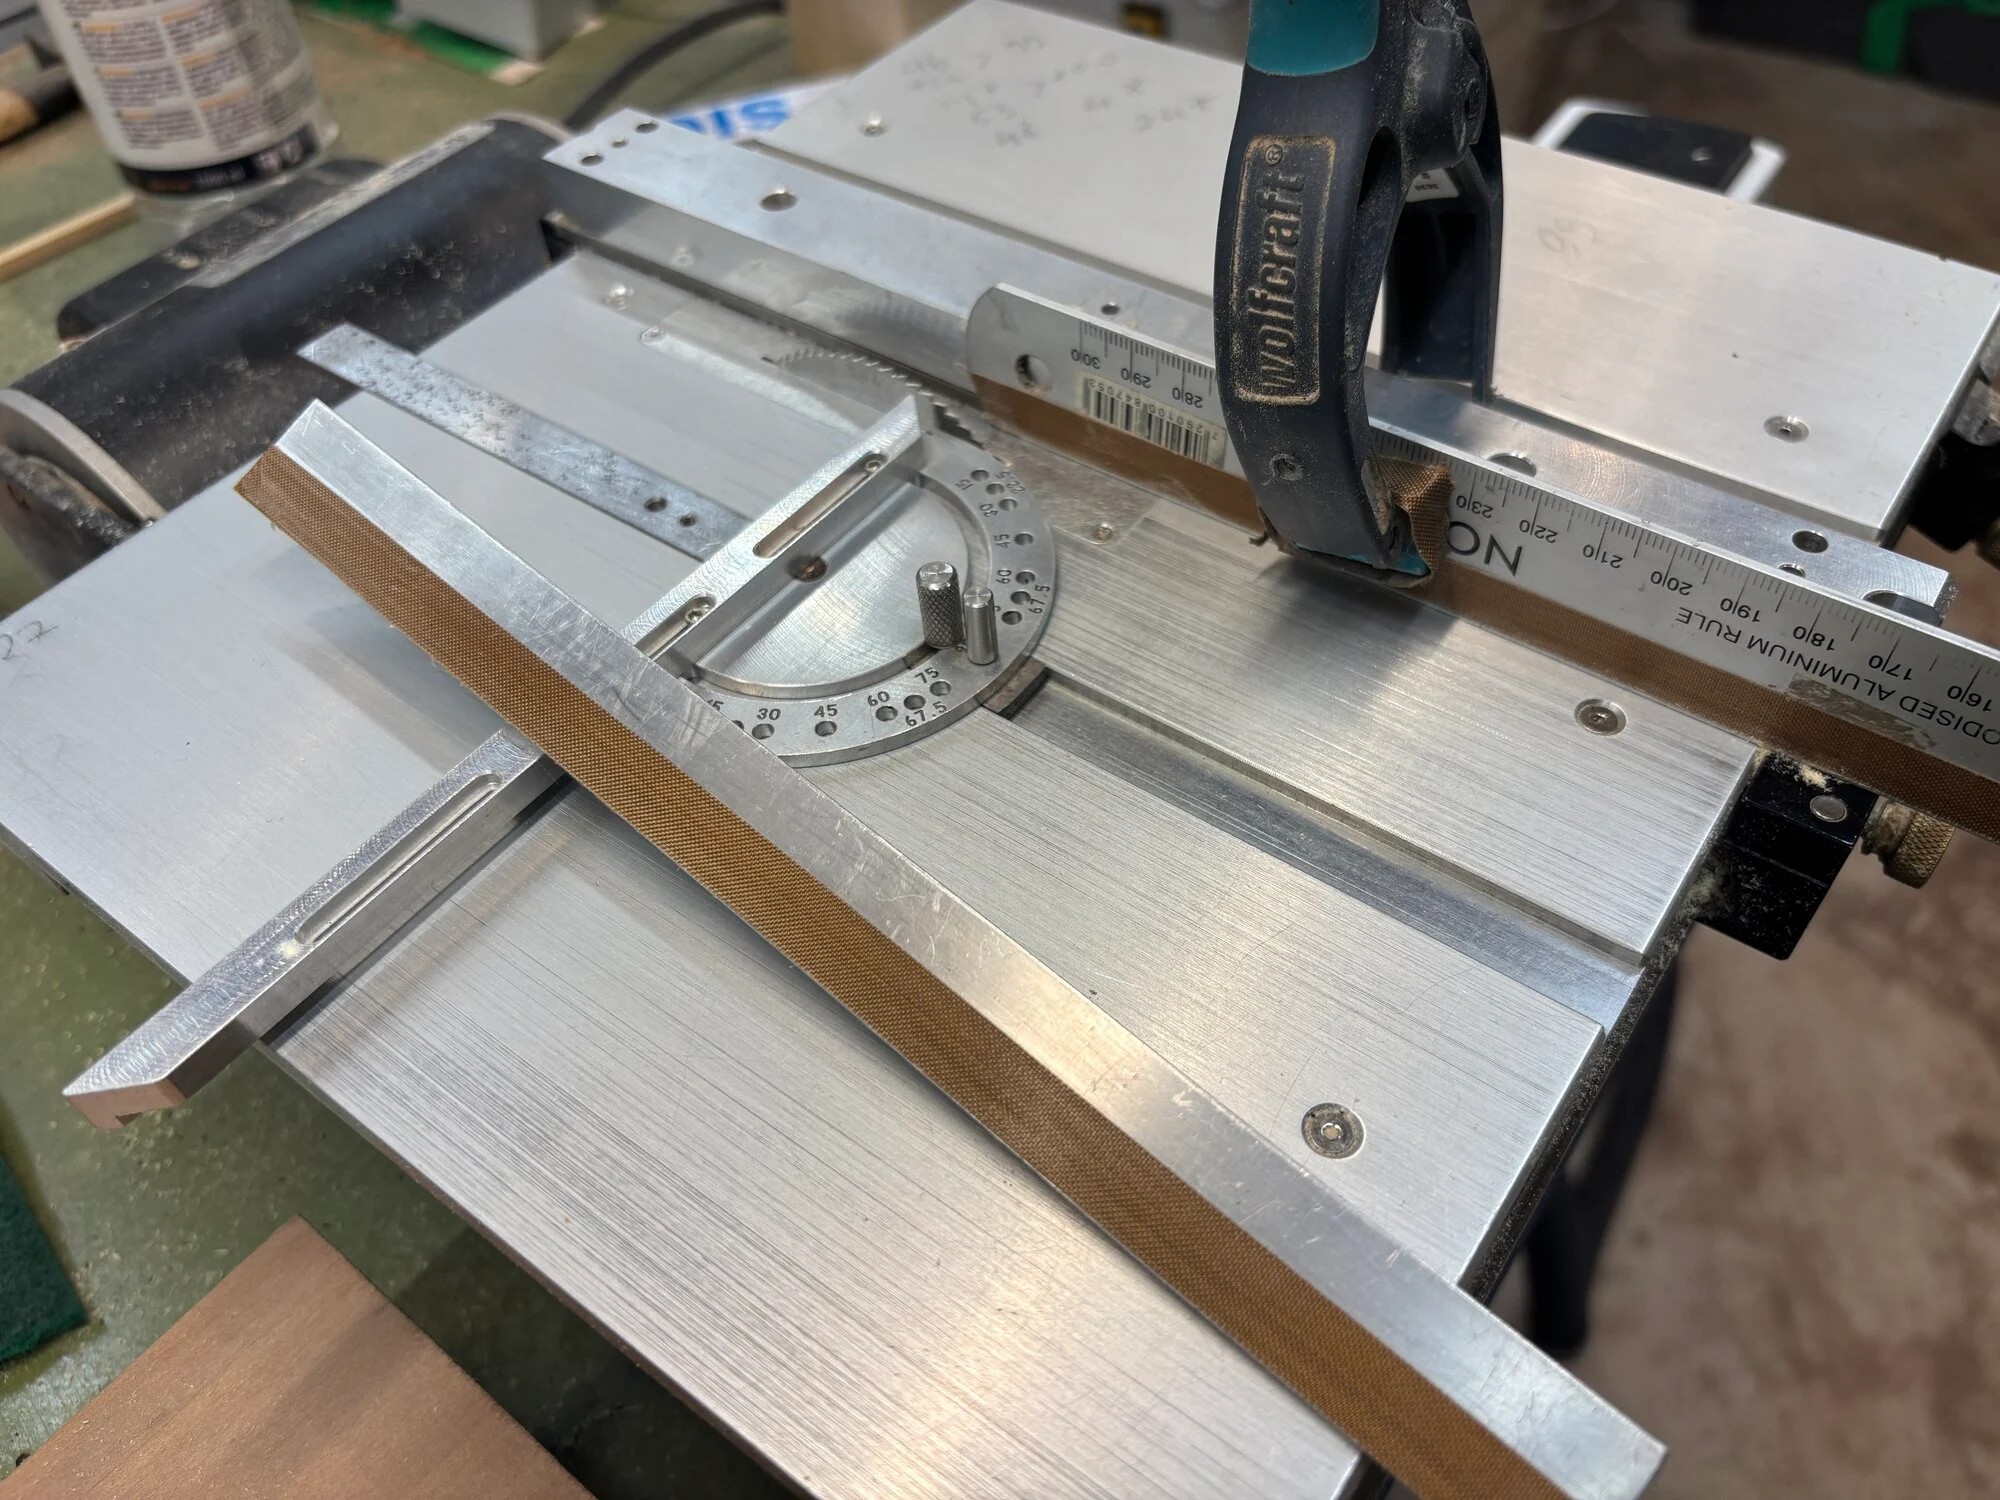
The core setup: L-angle on the fence
The most important part of this technique is an aluminium L-angle clamped to the fence. It does two things at once that make a significant difference to results:
First, it creates a gap between the strip and the fence. Once a strip is cut free, it needs somewhere to go — if it is trapped tightly between the blade and the fence, it will often catch on the back of the blade, which causes burn marks, uneven thickness and sometimes kickback. The L-angle positions the fence a small distance away from the cut line so the strip can flex away freely as it separates.
Second, it stabilises thinner sheets. For sheets thinner than 2 mm, add a flat ruler on top of the fence so the L-angle overhangs the sheet slightly from above. This keeps thin, flexible stock pressed down and prevents it from riding up into the blade.
How to set it up
- Take a length of aluminium L-angle from a hardware shop — a standard size works fine. The angle itself naturally holds it straight against the fence, so you don't need to be precise about alignment. A flat ruler works too, but you'll need two clamps to hold it firmly, since it won't grip the fence the same way.
- Cover the face of the L-angle that will touch the wood with teflon tape. Aluminium leaves grey marks on light-coloured woods like Pearwood and Castello Boxwood — teflon tape prevents this, and also makes the sheet slide much more smoothly through the cut.
- Position the L-angle so its bottom edge sits about 2 mm above the saw table. This keeps any sawdust from building up between the sheet and the angle during the cut — dust under the sheet pushes it off-line and causes inconsistent thickness.
- Clamp the L-angle firmly to the fence with a woodworking clamp. Check that it cannot shift during cutting.
Setting the thickness
This is where the micrometer earns its place. Eyeballing the fence distance doesn't give consistent results — the micrometer does.
Make two or three test cuts first and measure each strip carefully. Adjust the fence in small increments until the measured thickness matches what you want. Once you have the correct setting dialled in, you can cut hundreds of strips at that thickness without touching the fence again. The first few cuts are the setup cost; everything after that runs smoothly.
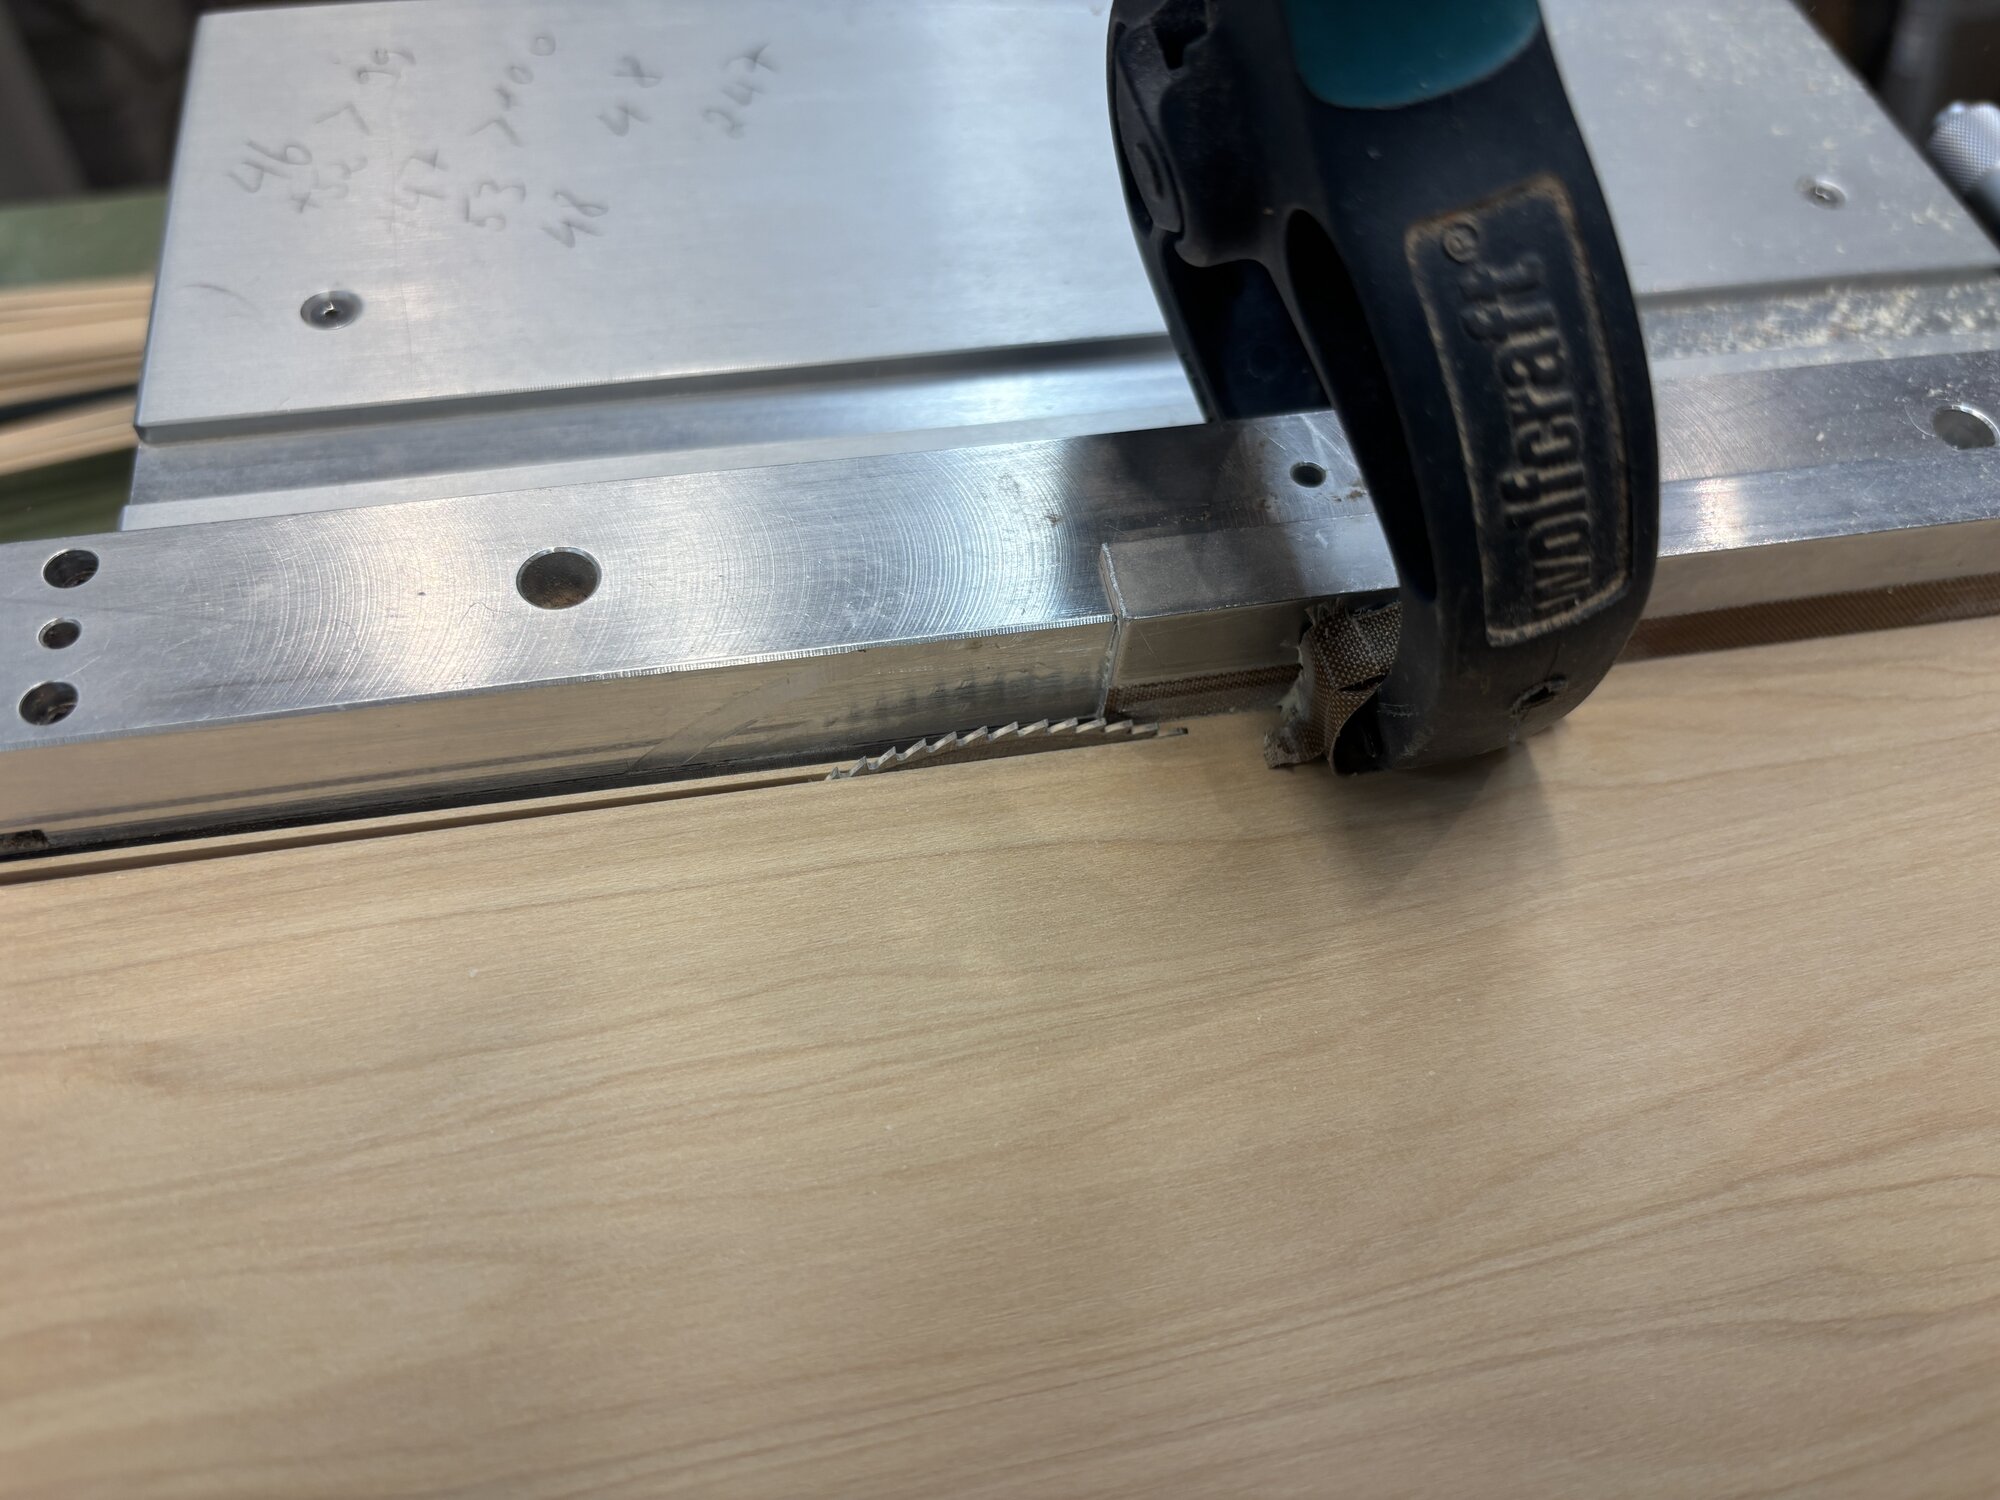
Using a hold-down clamp during the cut
When the blade starts cutting, a sheet held only at the sides can vibrate slightly — and vibration means the edges won't be as sharp and clean as they could be. A woodworking clamp positioned close to the blade and pressing down gently on the sheet as it passes solves this. Don't clamp hard — just enough contact to stabilise the movement.
Cover the clamp face with teflon tape too, for the same reason as the fence.
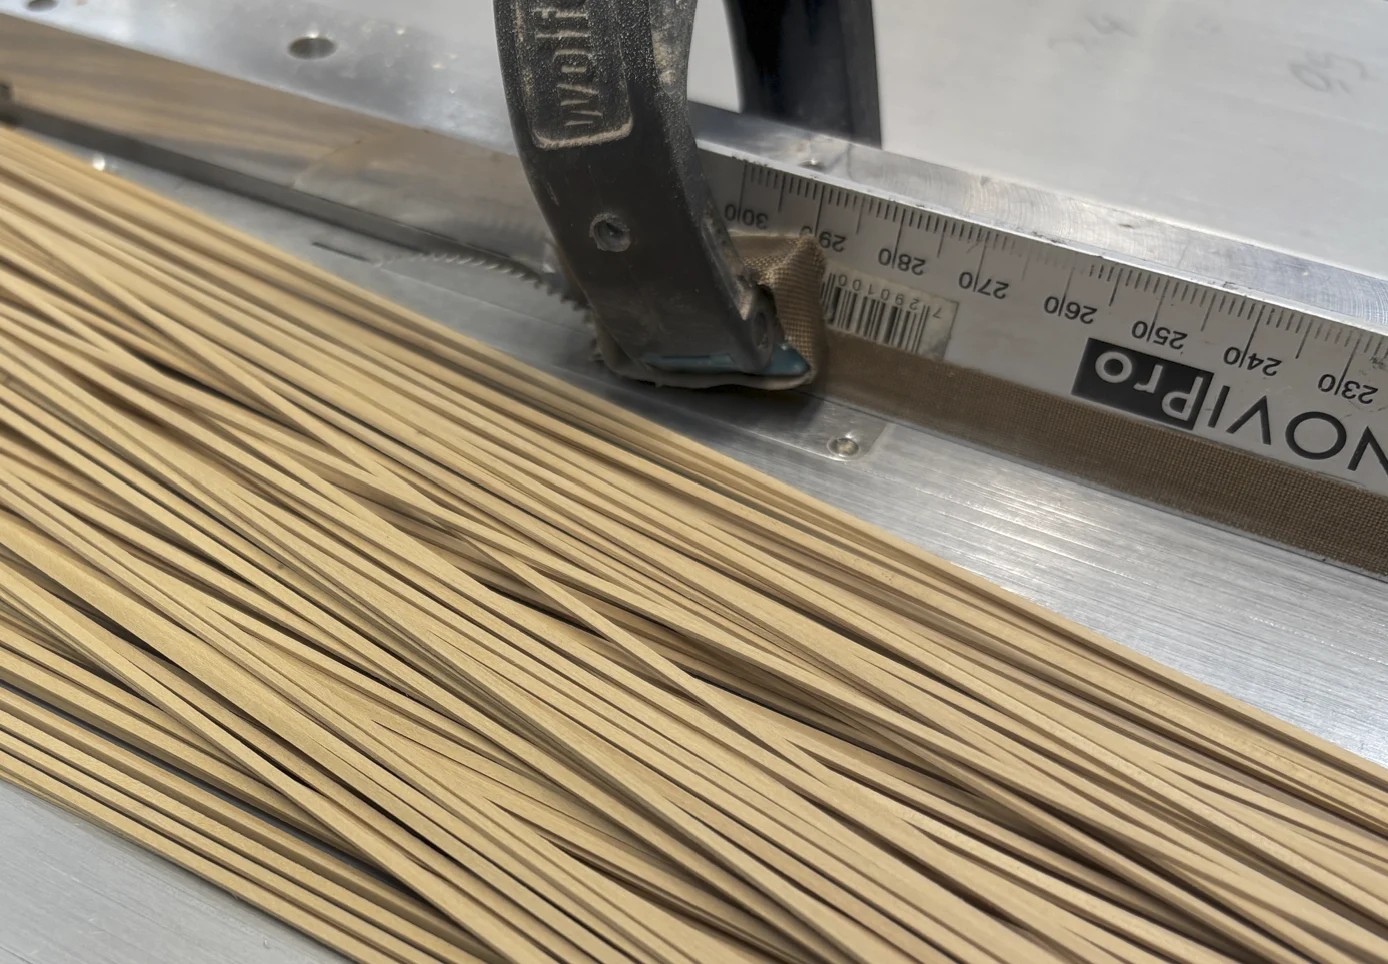
Feeding the sheet through
Feed the sheet smoothly and at a steady pace. Don't rush — if you push too fast, dense hardwoods like Pearwood will burn at the cut edge, which means wasted material and extra cleanup work. If you feel resistance, slow down rather than pushing harder.
At the end of the cut, when only a short section of sheet remains in contact with the fence, switch to holding it gently in place with your thumb while continuing to push forward. Don't grip or press hard here — just guide it. This takes practice to get right, and honestly, after a few hundred cuts it becomes second nature. The first few times it will feel uncertain. That is normal.
Common problems and what causes them
Strips are burning on one edge: You're feeding too fast, or the blade needs cleaning. Slow down first; if burning persists, check the blade for resin buildup.
Strips are uneven in thickness across their length: The sheet is lifting or drifting away from the fence mid-cut. Check that your L-angle is clamped firmly and that the hold-down clamp is making contact.
The strip jams between the blade and the fence: The L-angle isn't creating enough distance. Move it slightly further from the blade so the cut strip has room to flex away.
Sheets aren't coming out straight after cutting: This is a common problem when starting out. It usually comes down to inconsistent hand pressure — try to keep your pushing force centred on the sheet, not angled towards or away from the fence. It improves with practice.
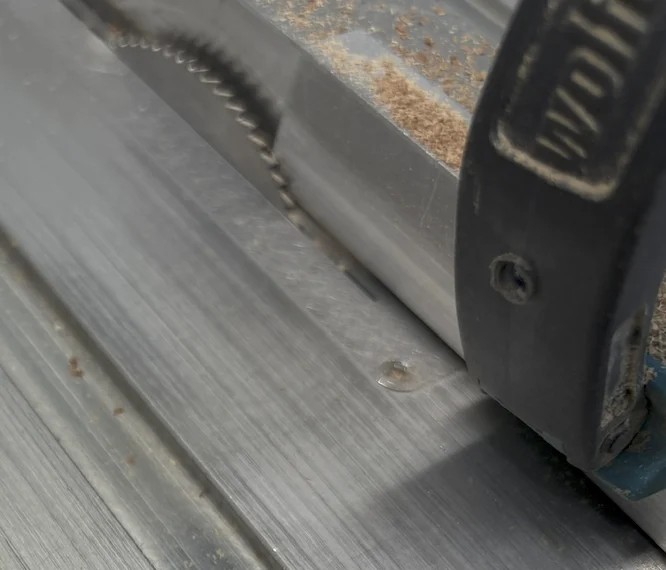
A note on blade choice
The blade matters. Cheaper or worn blades produce rougher edges and are more likely to cause burning. If you're milling a lot of strips, check the blade condition regularly — a sharp blade makes a noticeable difference to both edge quality and how easily the saw feeds.